Invoicing in JGID is a straightforward and simplified process that allows the user to either invoice different items and services (the separate line positions in the overview screen) of the Job, at different stages of the work progress /Option 1/, or invoice the whole job, at the end of the work, once it is completed /Option 2/.
The Invoicing becomes an active feature as soon as a quote is approved and transformed into a job. This allows the company to issue down payments or partial payments for the job straight from the job overview panel for improved monitoring purposes and follow-up of any changes regarding the job and the scope of work.
Option 1 – Invoicing separate lines from the job
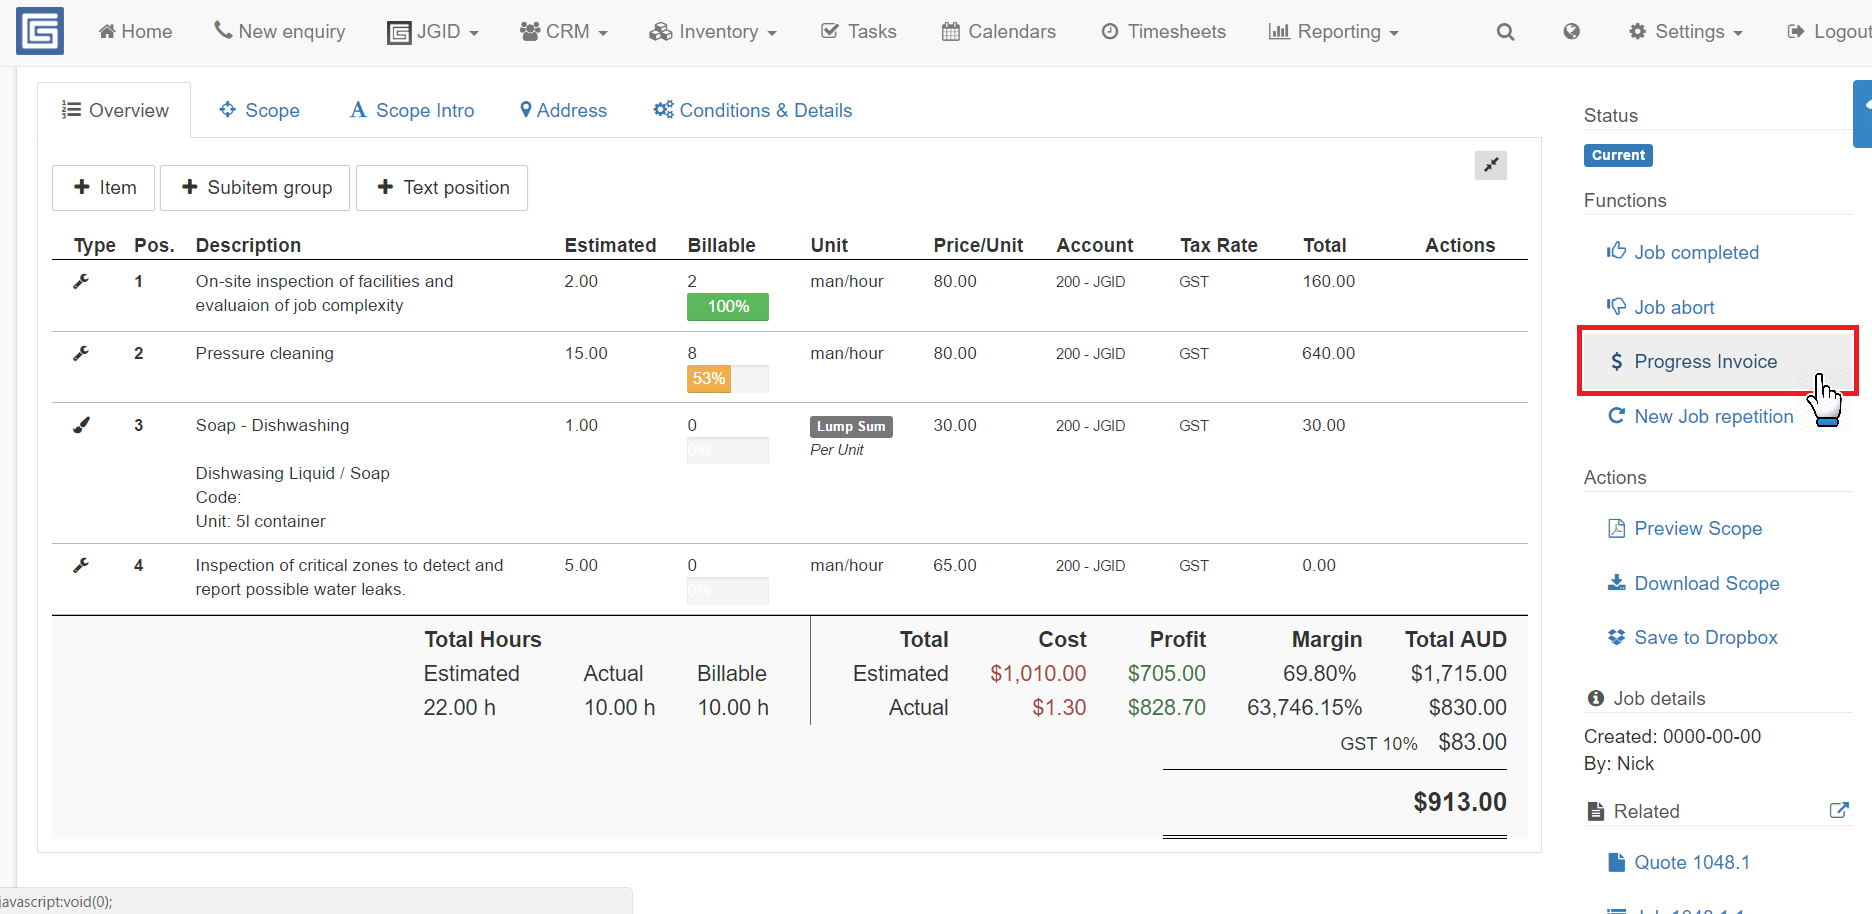
1. On the right side of the screen you have your Command menu, where you will find the Progreess Invoice button. Click on it to invoice a single position or several positions at once.
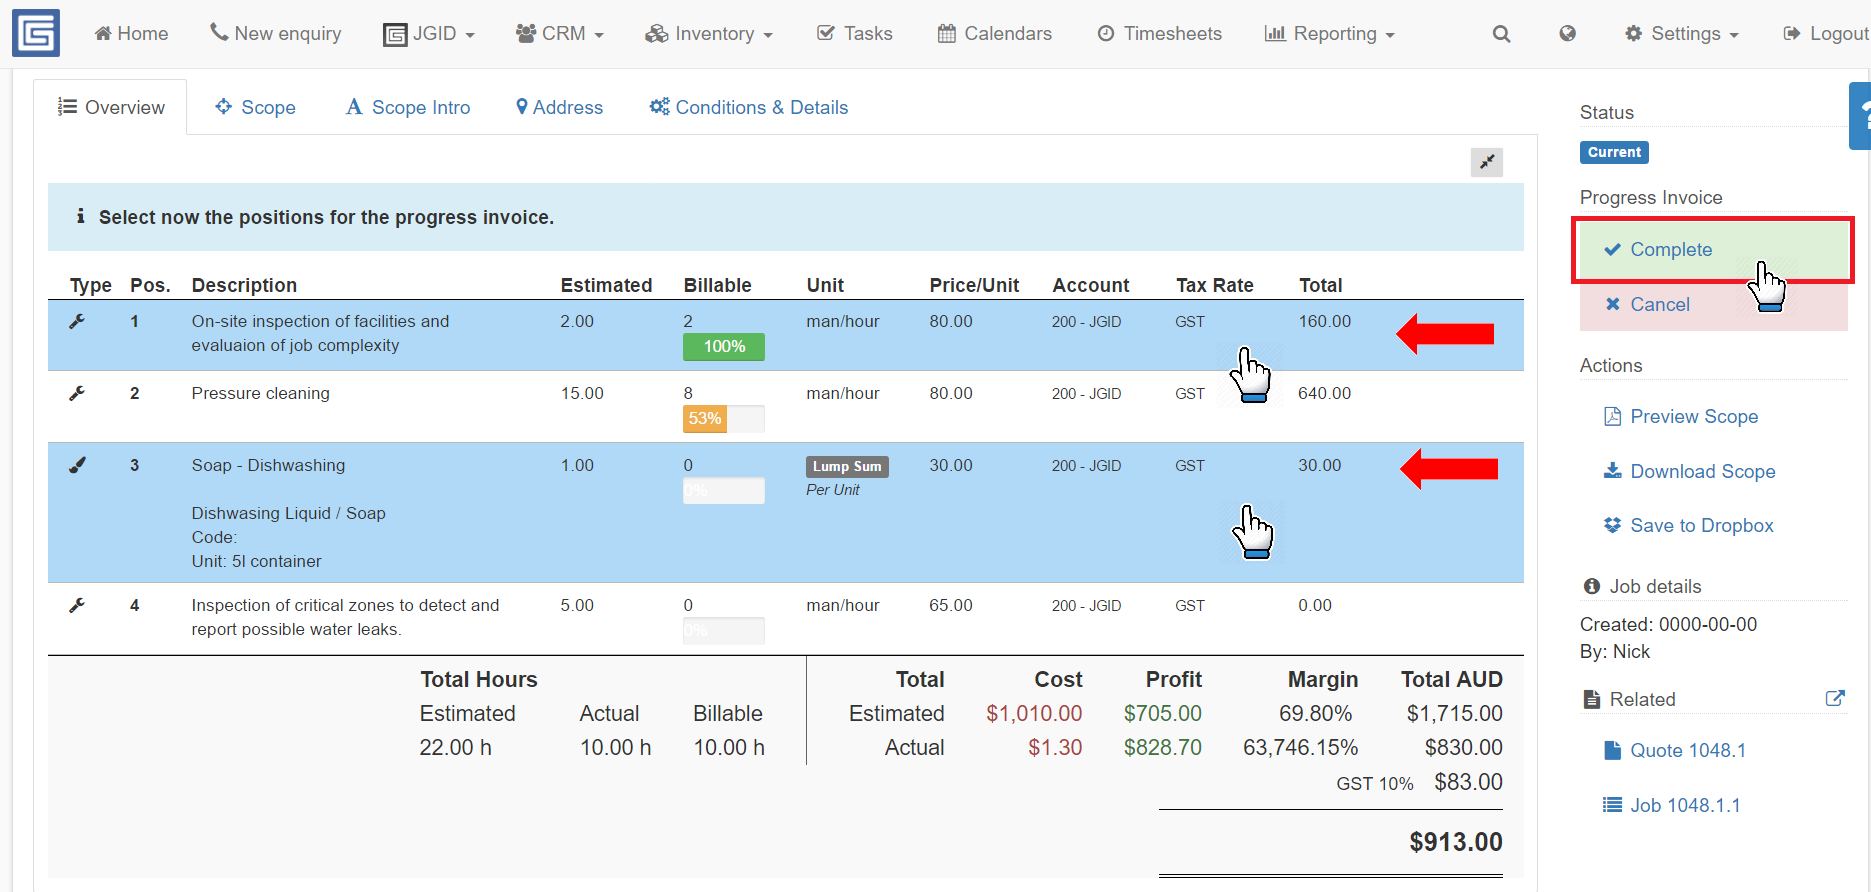
2. From the newly opened window select the line or lines you wish to invoice and confirm by tapping on the Complete button on the right side into the Command column. To return to the Job overview panel, without progressing any invoicing, select the Cancel button.
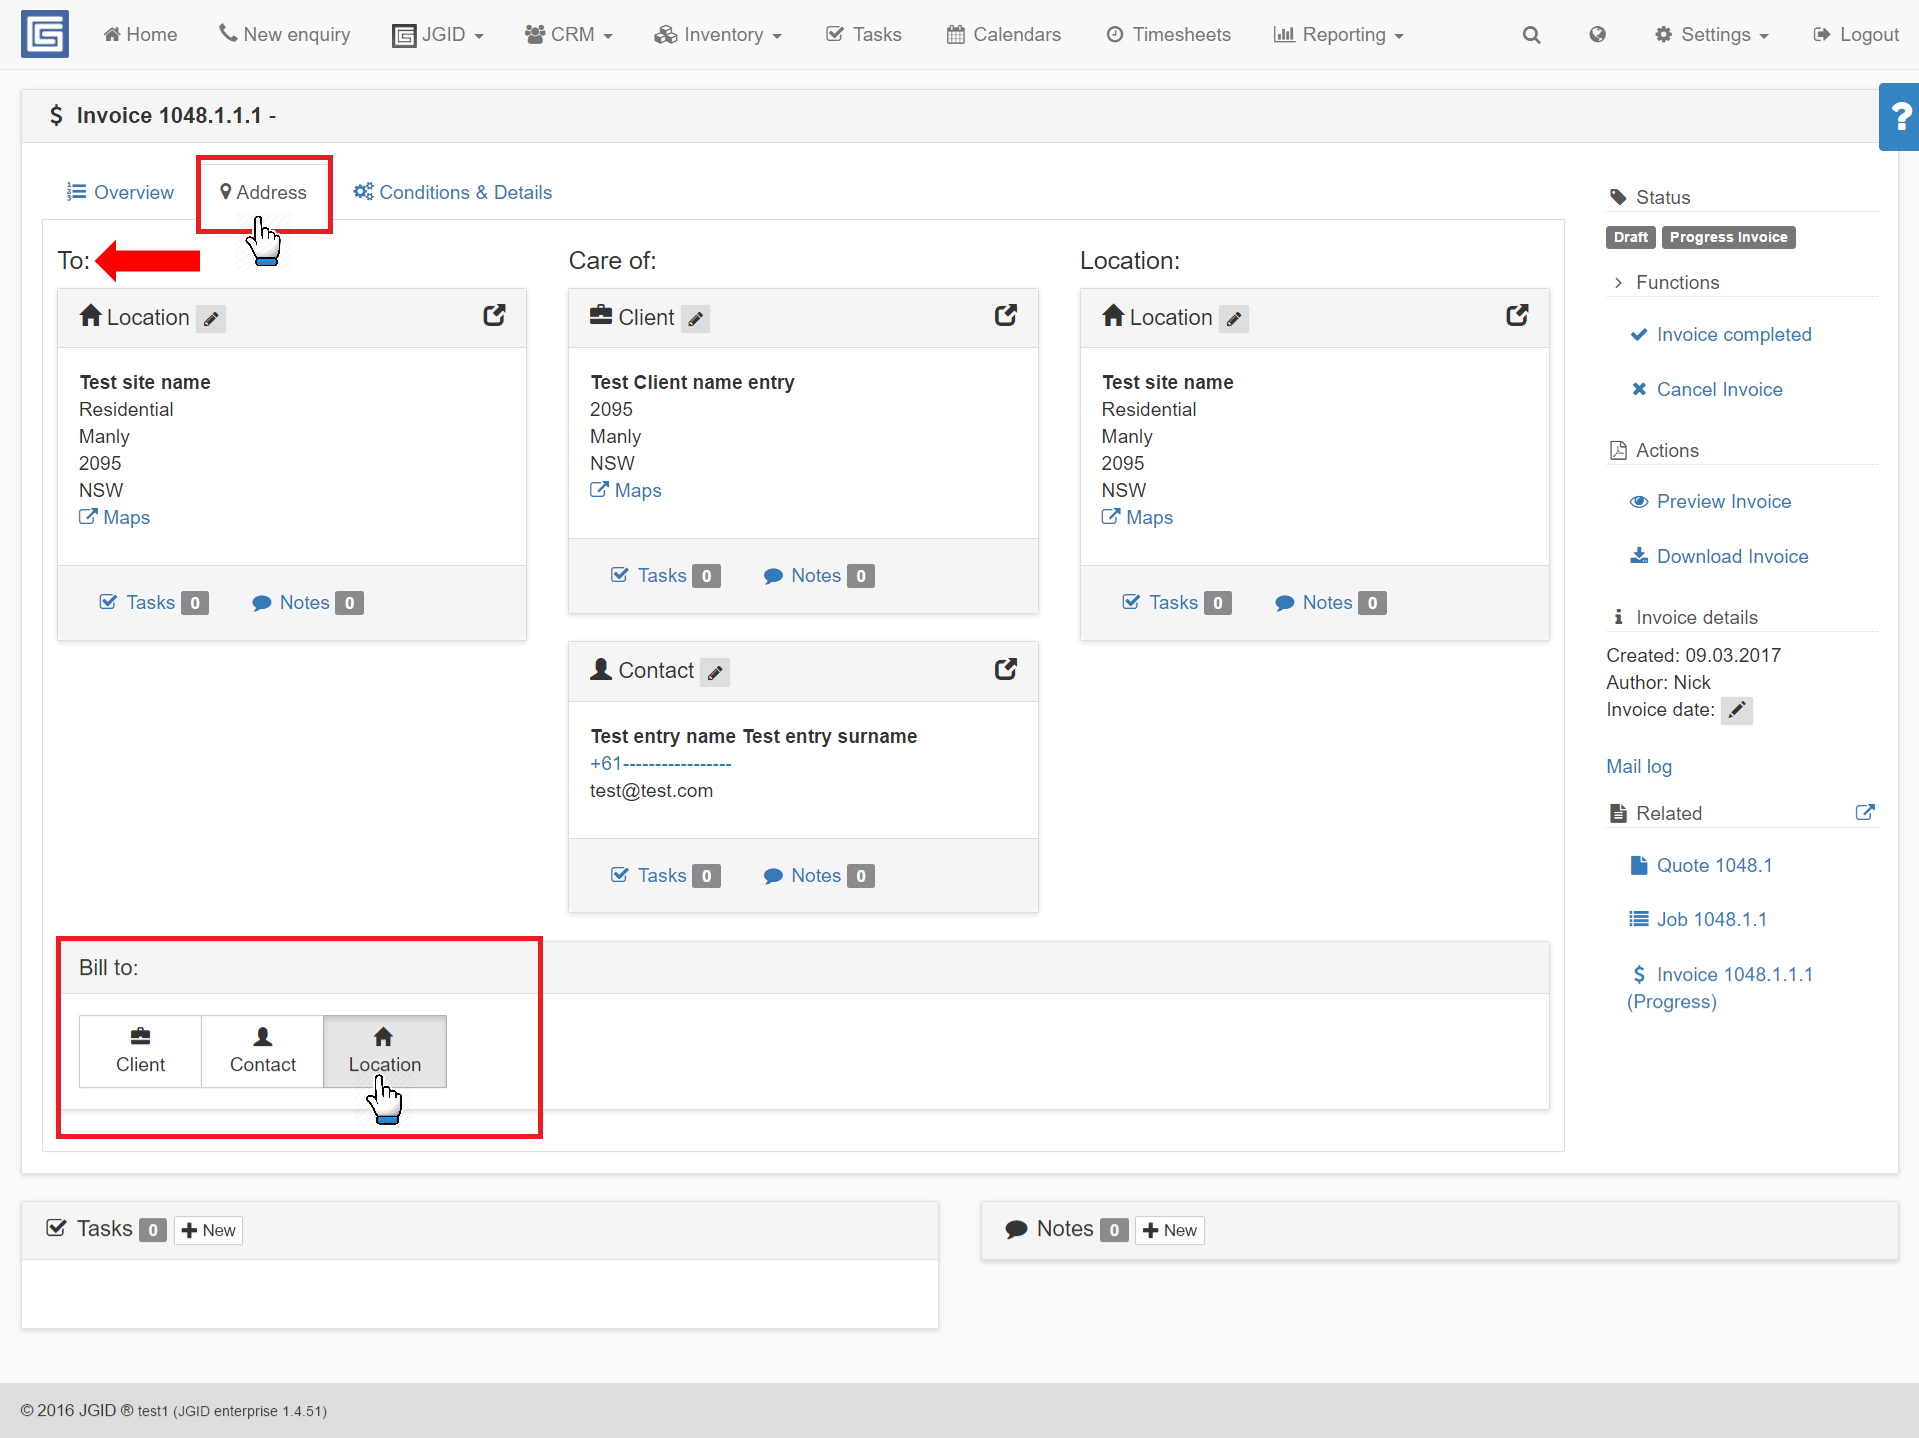
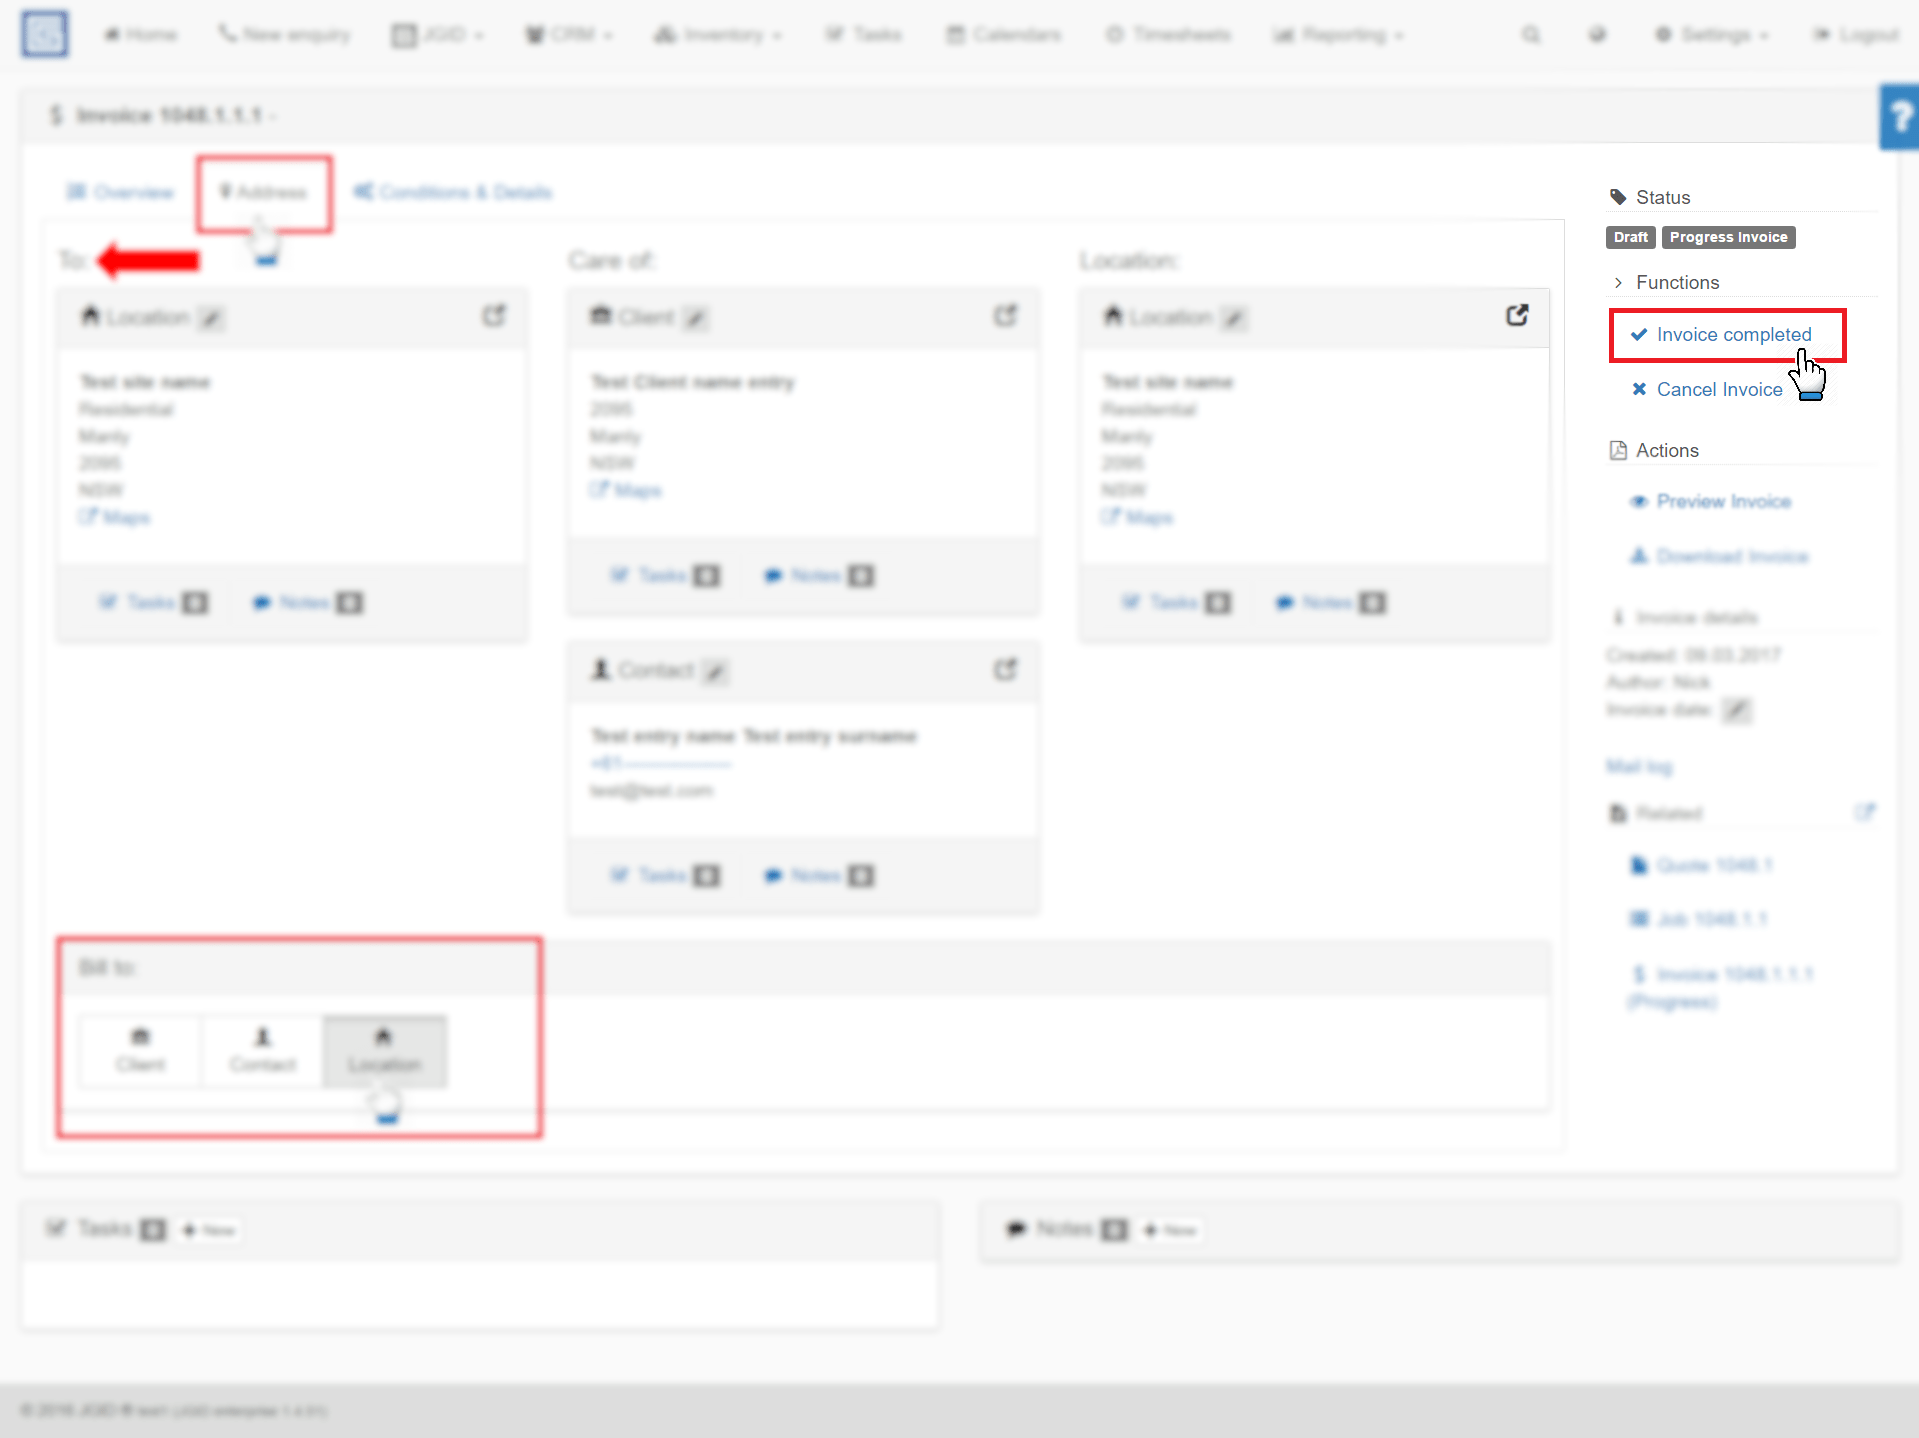
3. Once you have confirmed your selection, you will be taken to the actual Invoice document page, where the status of your document would have two labels – Draft and Progress Invoice. This is a final preview panel of the invoice which provides the user with the opportunity to select the site he wants to issue the invoice to – either the Client or the Customer or the Location. This is particularly useful when dealing with a client with multiple representatives – contacts or locations – such as Strata plans. You can choose to bill the Location for exmaple, instead of the defaulted option – the Client.
To do so, go to Adress, scroll down and under Bill to, click on Location.
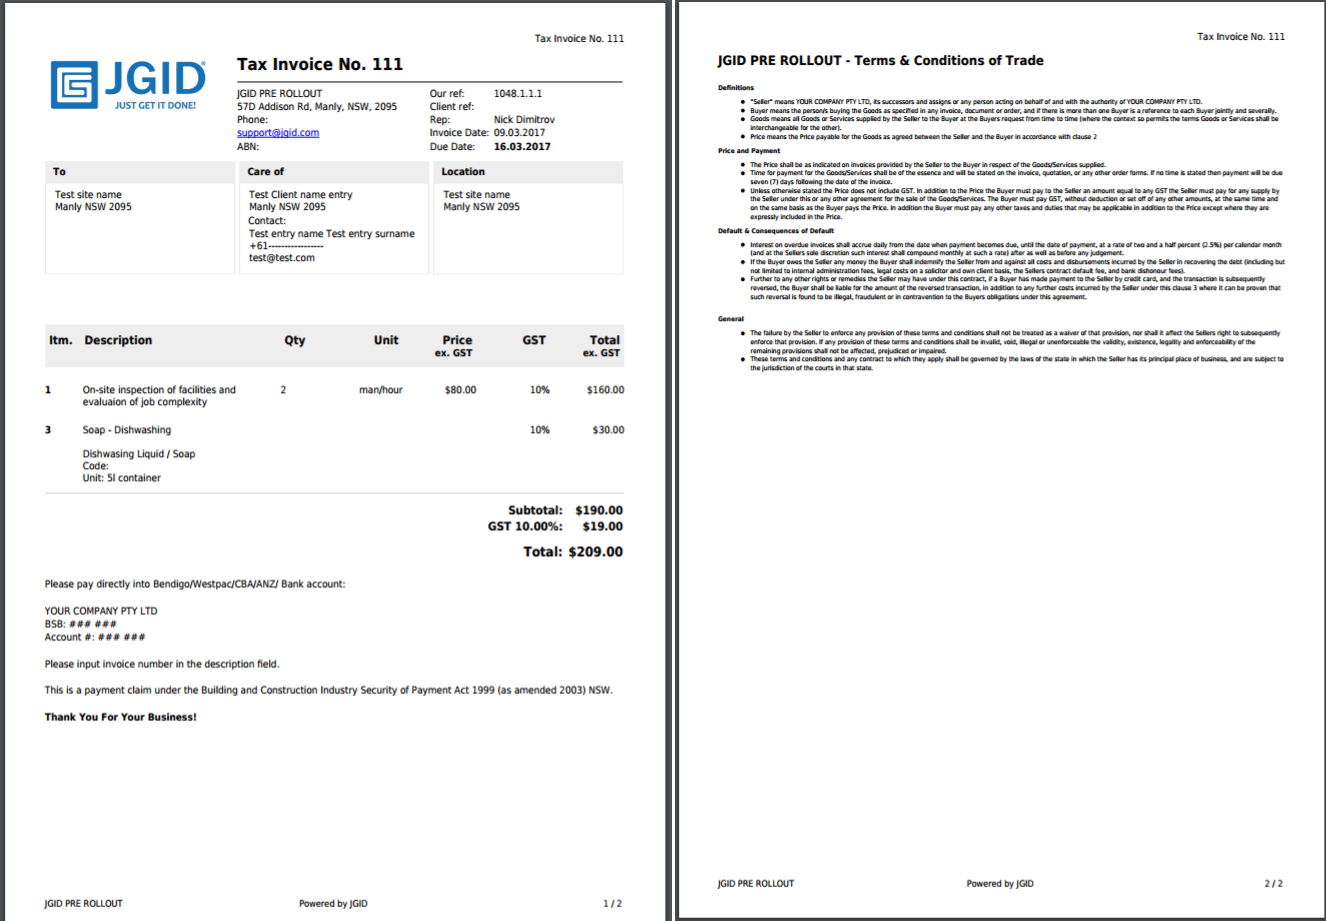
4. Before completing the Progress invoicing, you can preview and download a fresh copy of the invoice to your computer. Once you have made the necessary adjustments to the document, click on the Invoice completed button in the Command menu on the right side of the screen
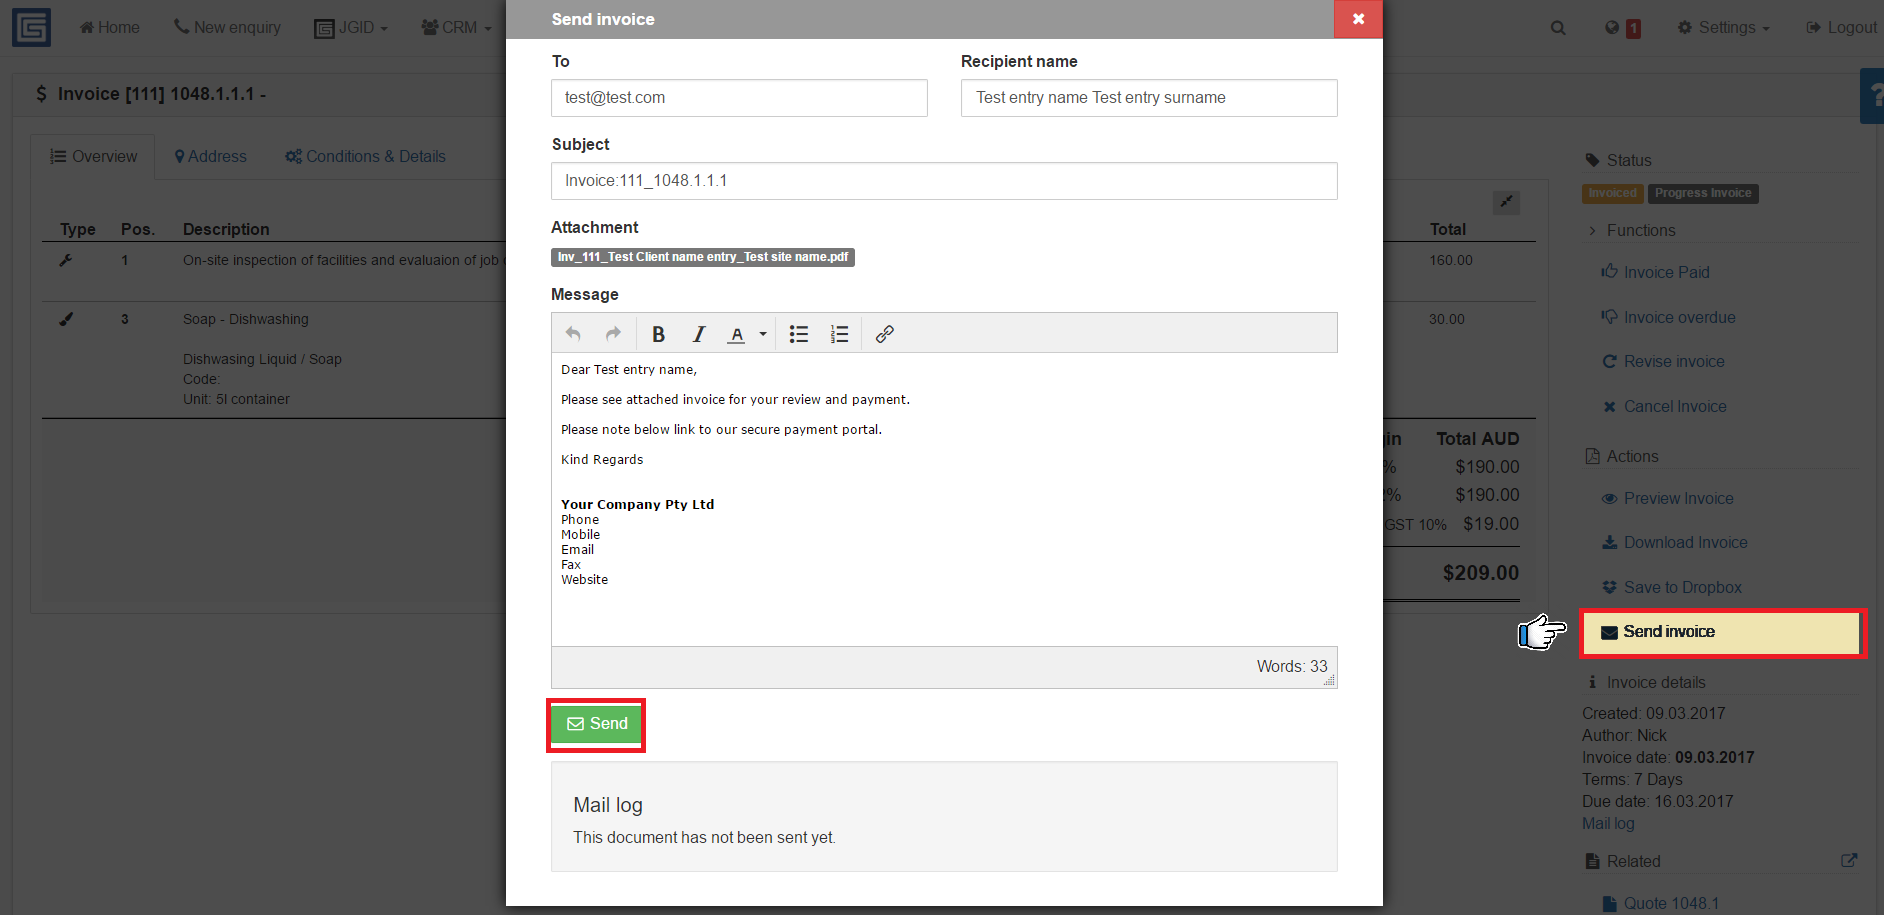
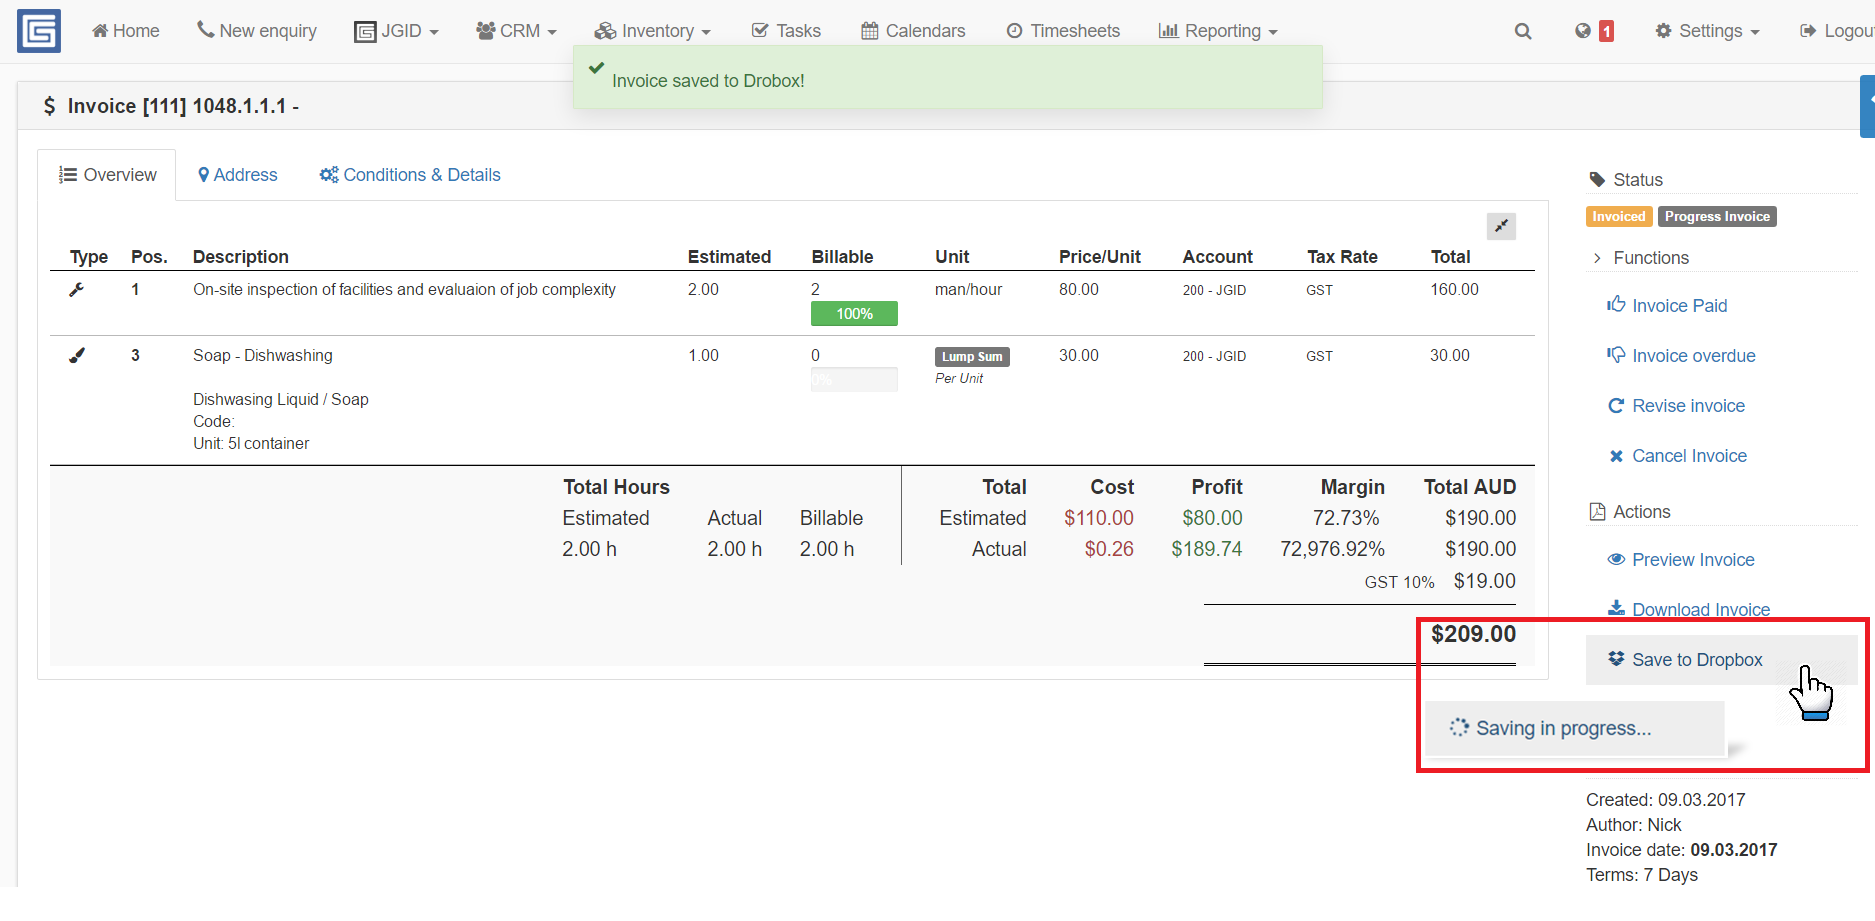
5. At this stage you will be presented with the opportunity to save a copy of the invoice to your JGID Invoices folder in Dropbox as well as to send the Invoice to the Client using the embedded JGID messaging service. You can also preview the quote and inspect one last time before sending it.v All these features are available in the Command menu, under the Actions section.
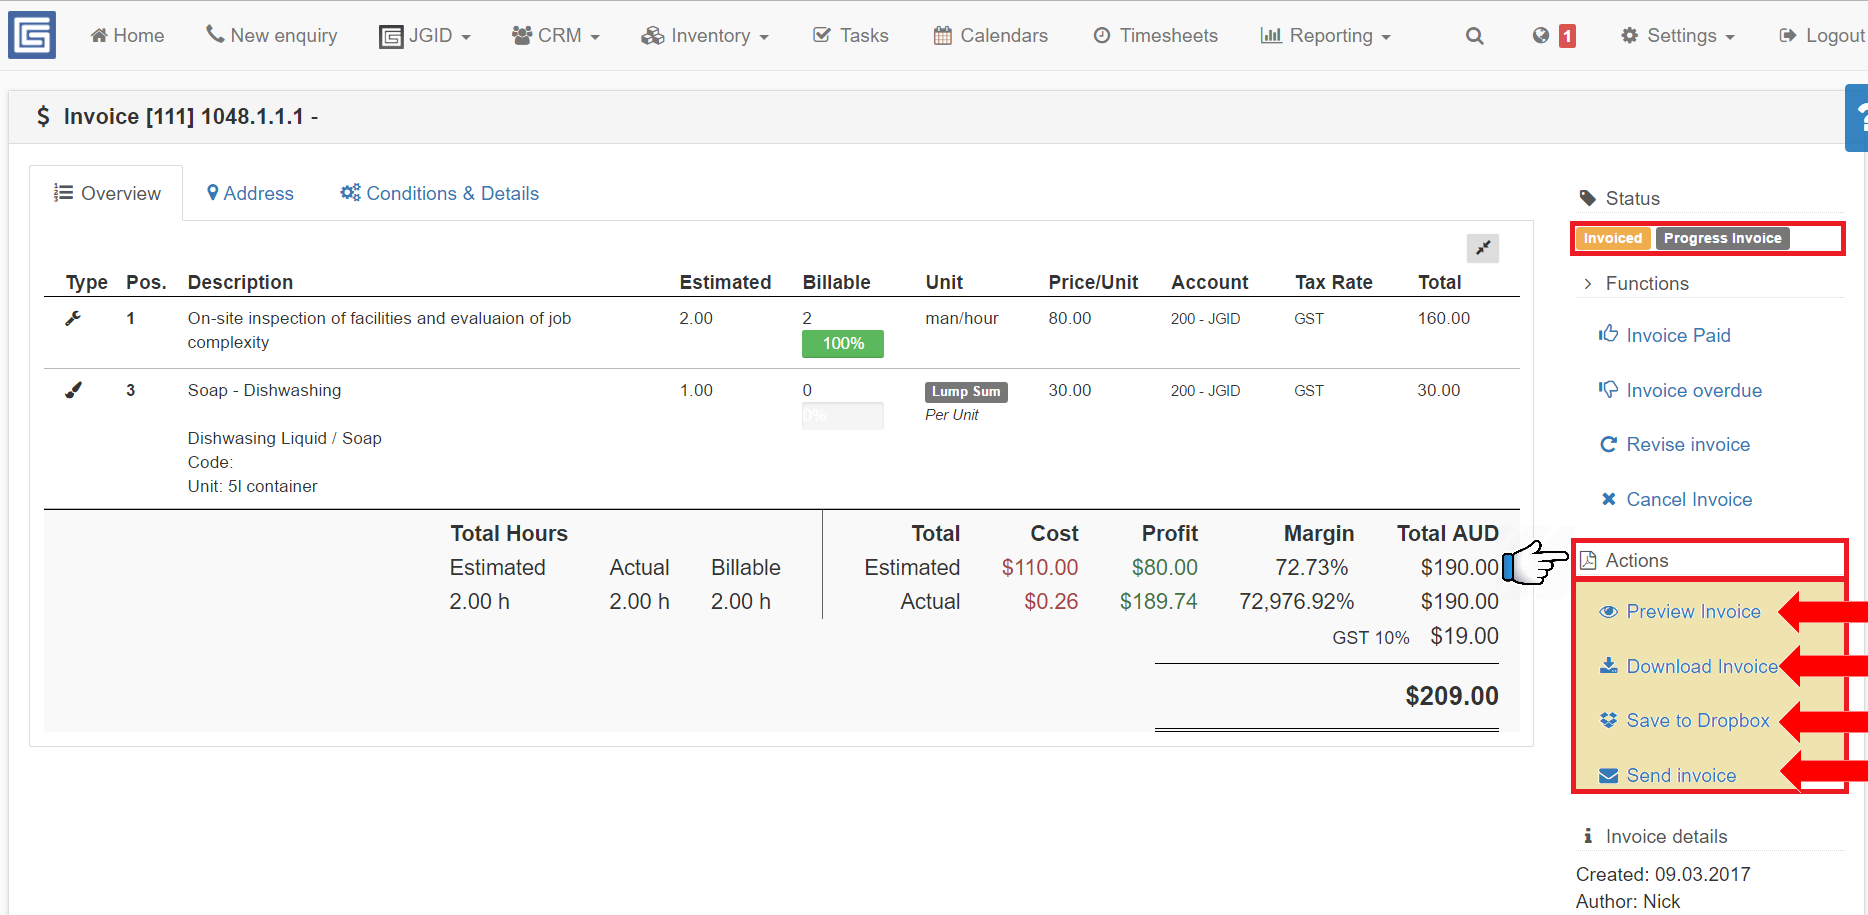
– Preview Quote
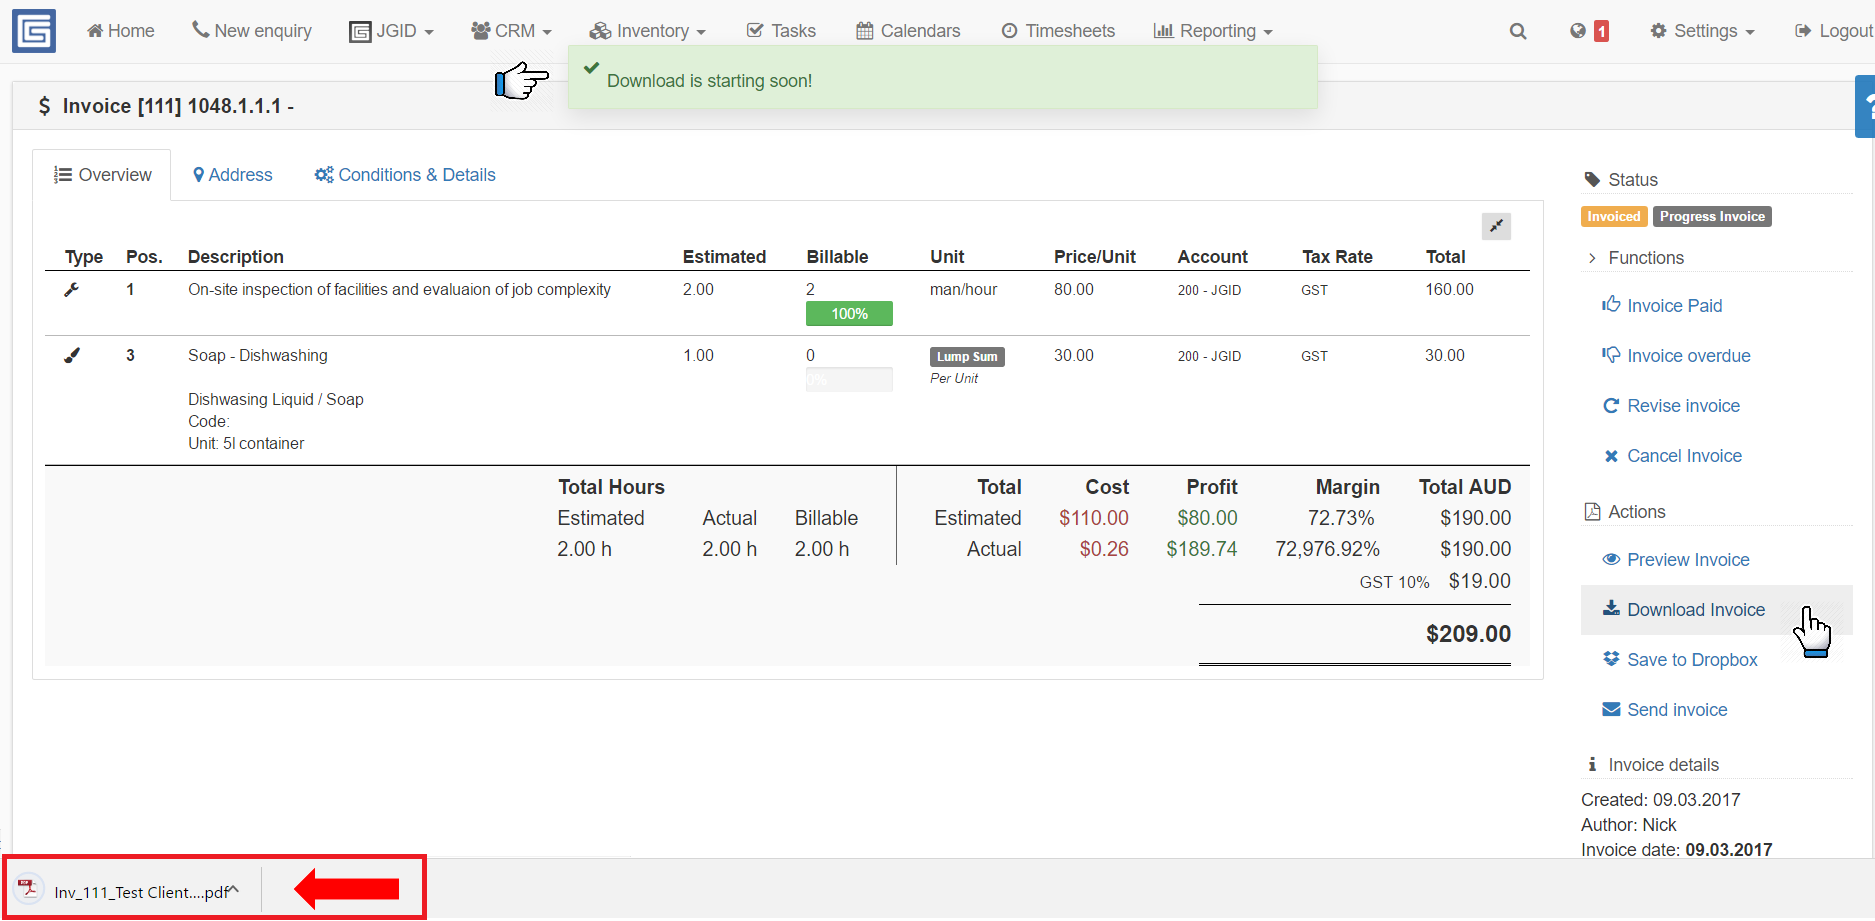
– Download Invoice (from Chrome)
– Save to Dropbox
– Send invoice – All text fields are completely editable, so you can choose to send the invoice to either the default e-mail address of the Contact for the particular client or to another relevant contact e-mail.